To register your CERES TAG devices to your portal account please follow the below steps.
Step One -Access the Registration Page 1
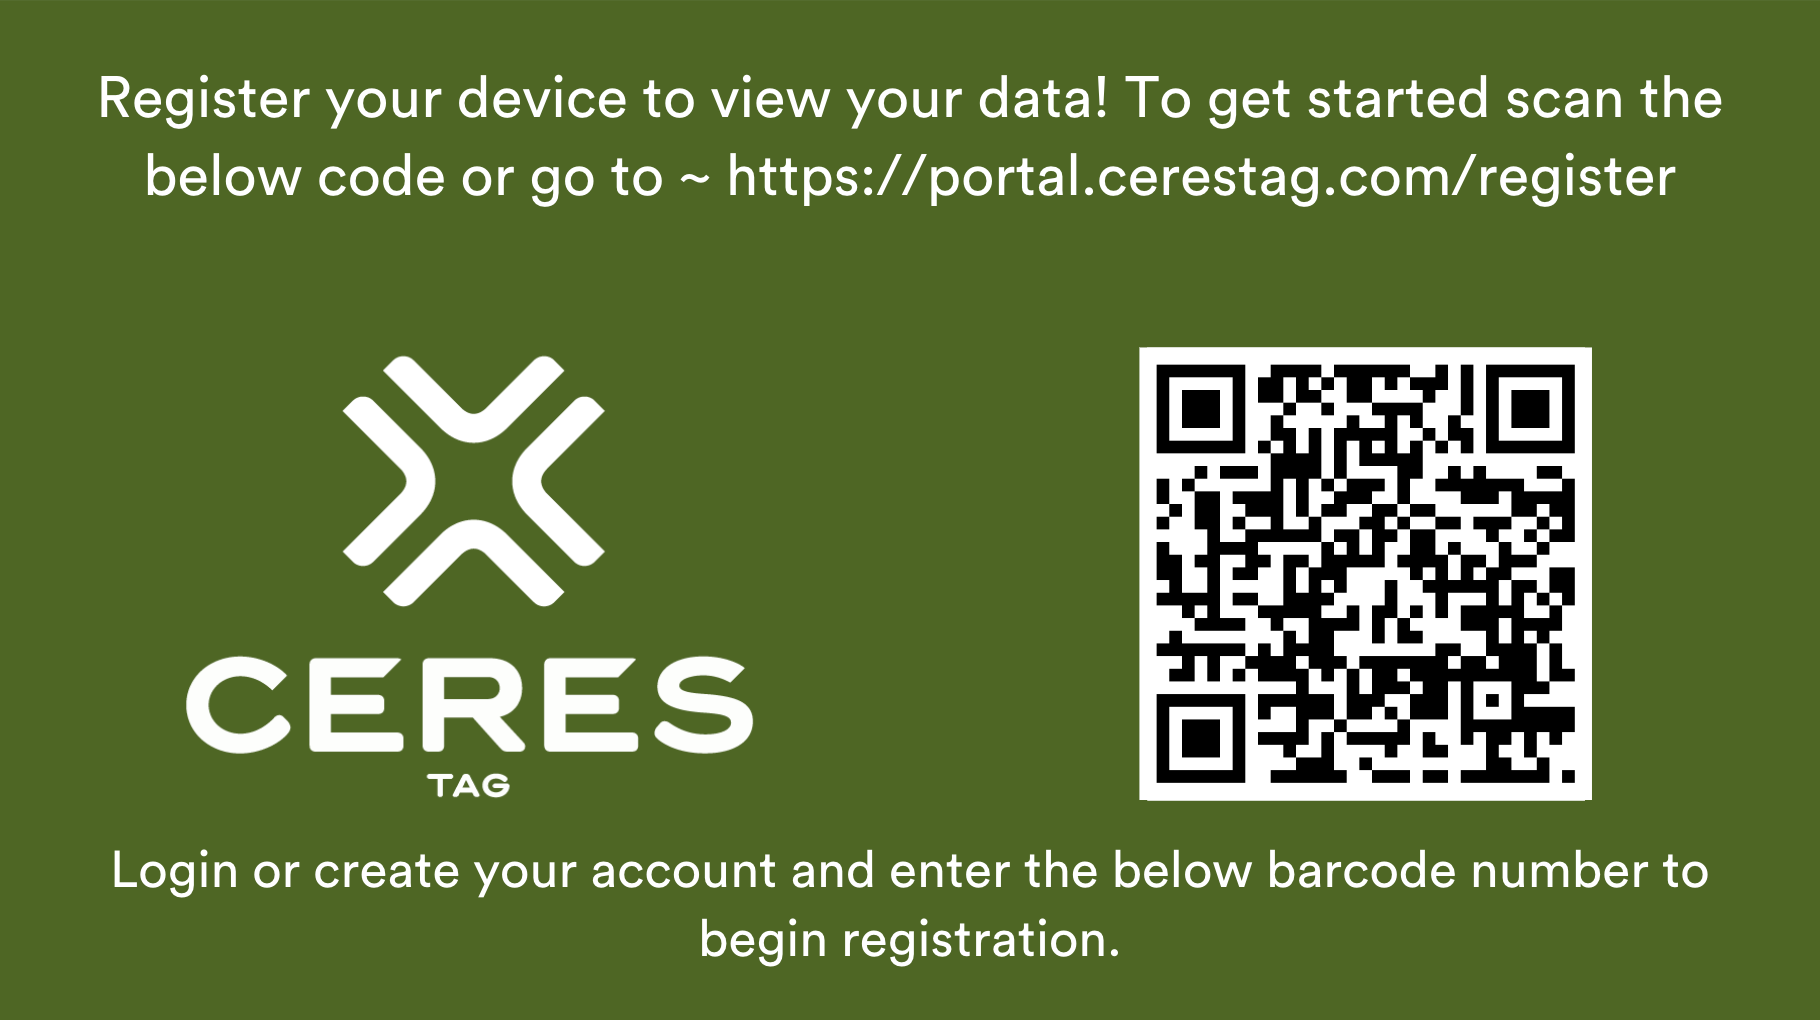
Scan the QR code on your new box of CERES TAG devices using the camera on your smart phone. Alternatively, go to https://portal.cerestag.com/register
Step Two -Access your CERES TAG PORTAL Account
Log in to your CERES TAG PORTAL account or create a new login.
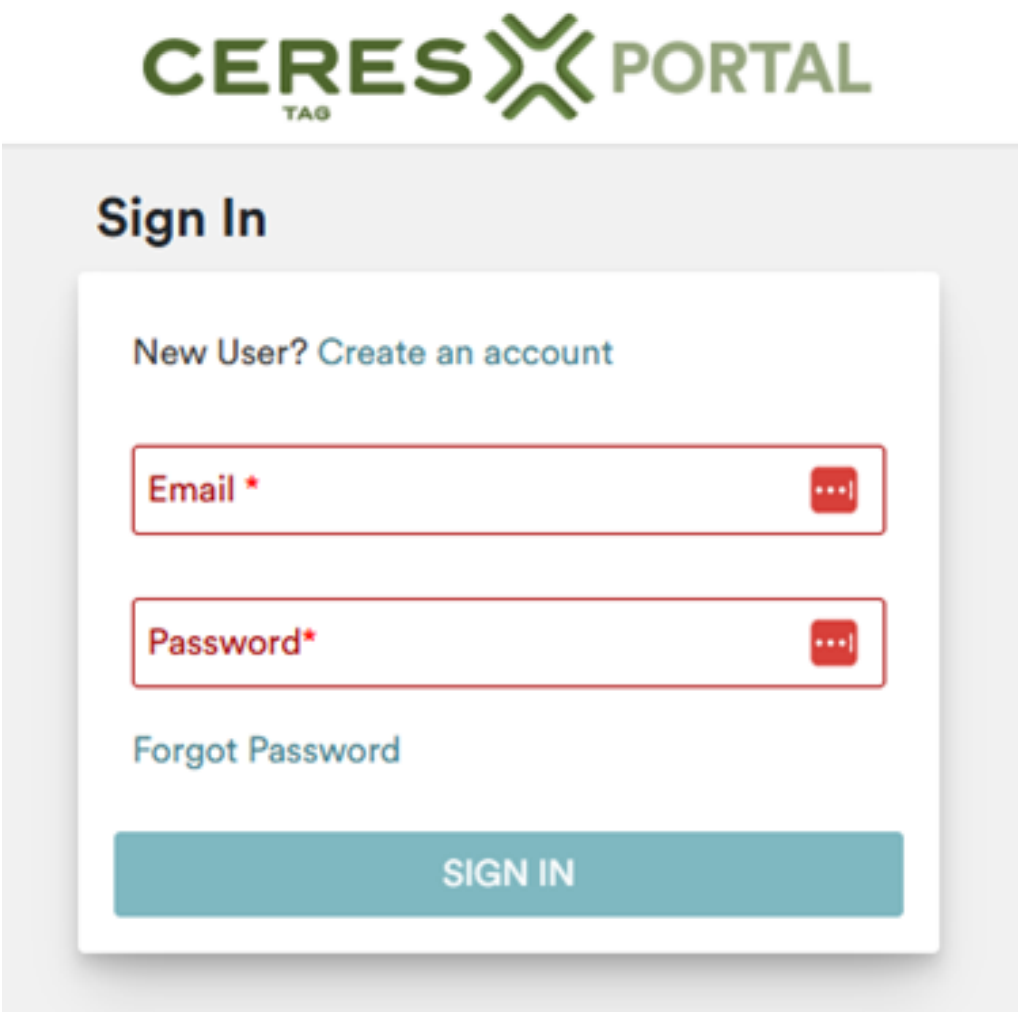
To create a new login, select ‘Create an account’
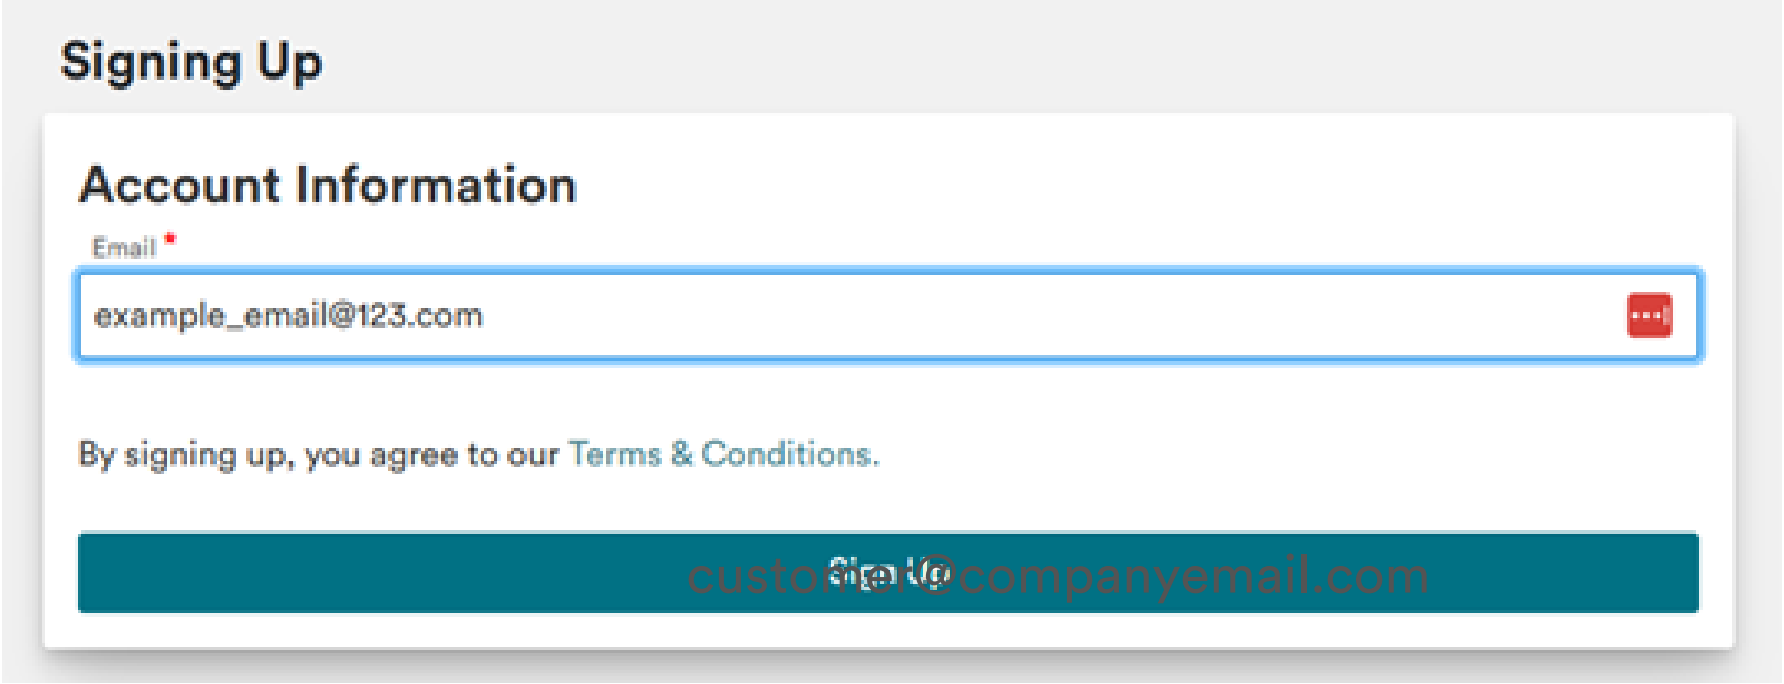
Enter your email and follow the prompts to set up your account, this includes retrieving a code sent to your email address.
Step Three -Assigning Your Devices to a Location
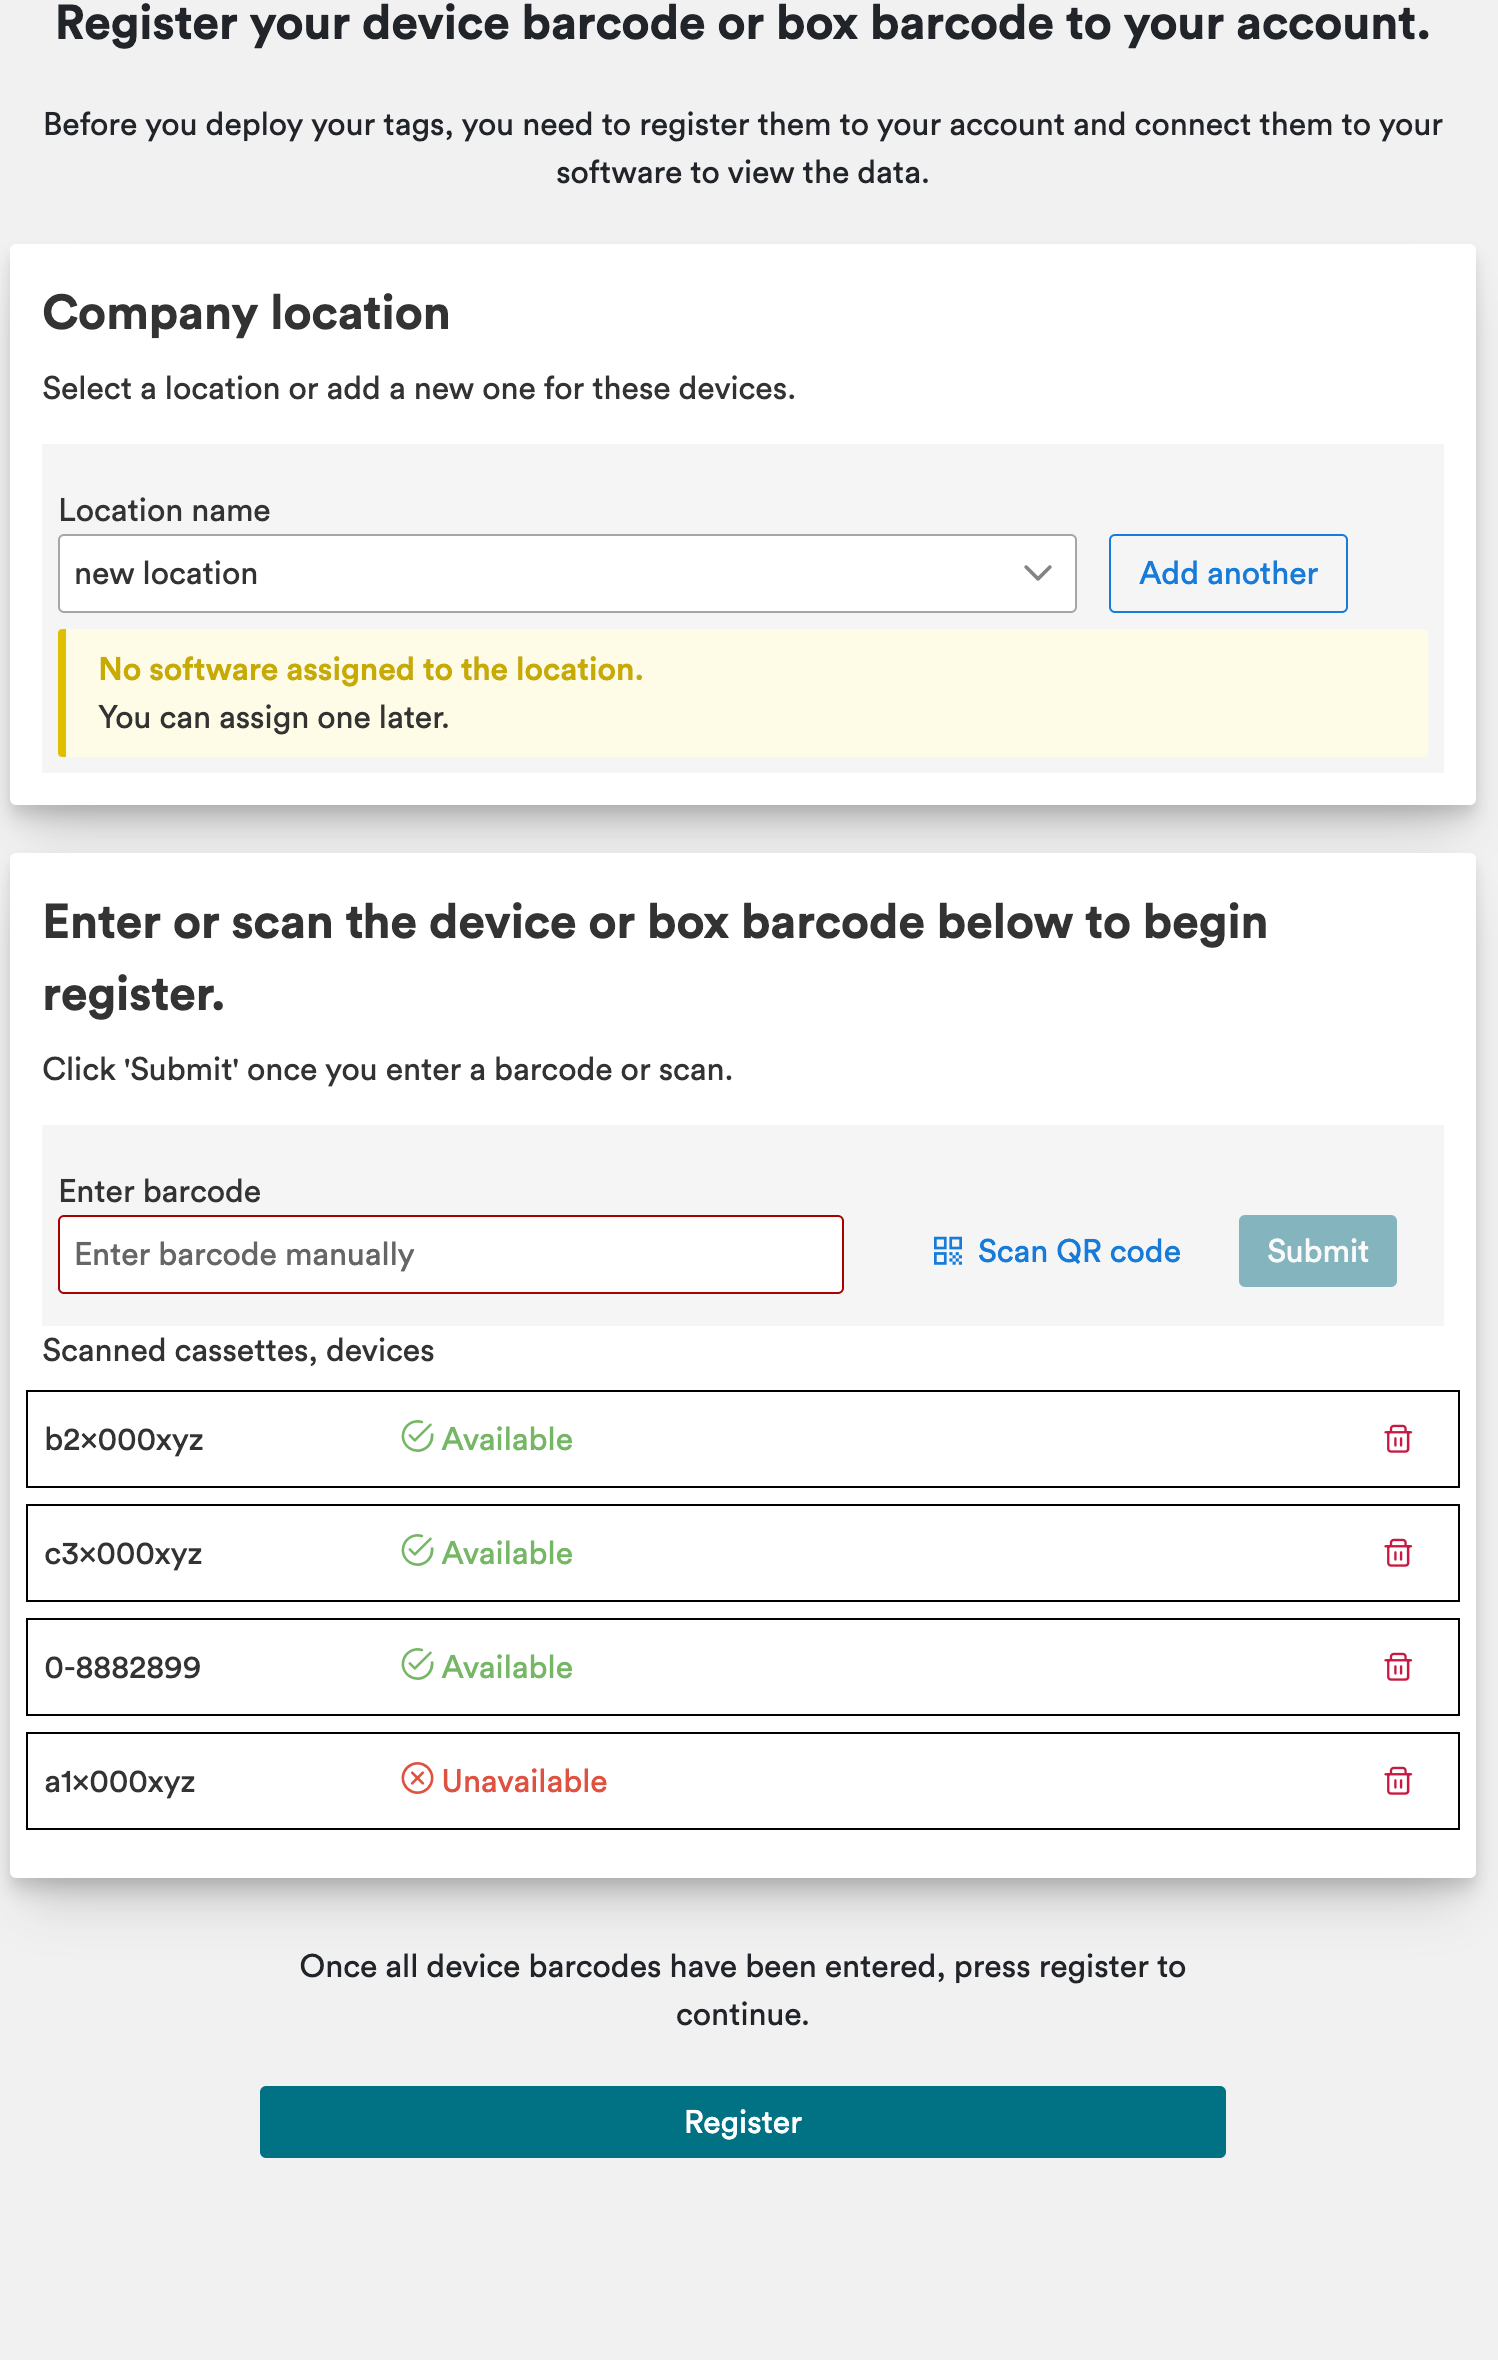
Select the location you want your devices allocated to, or ‘add another’ to create a new one. 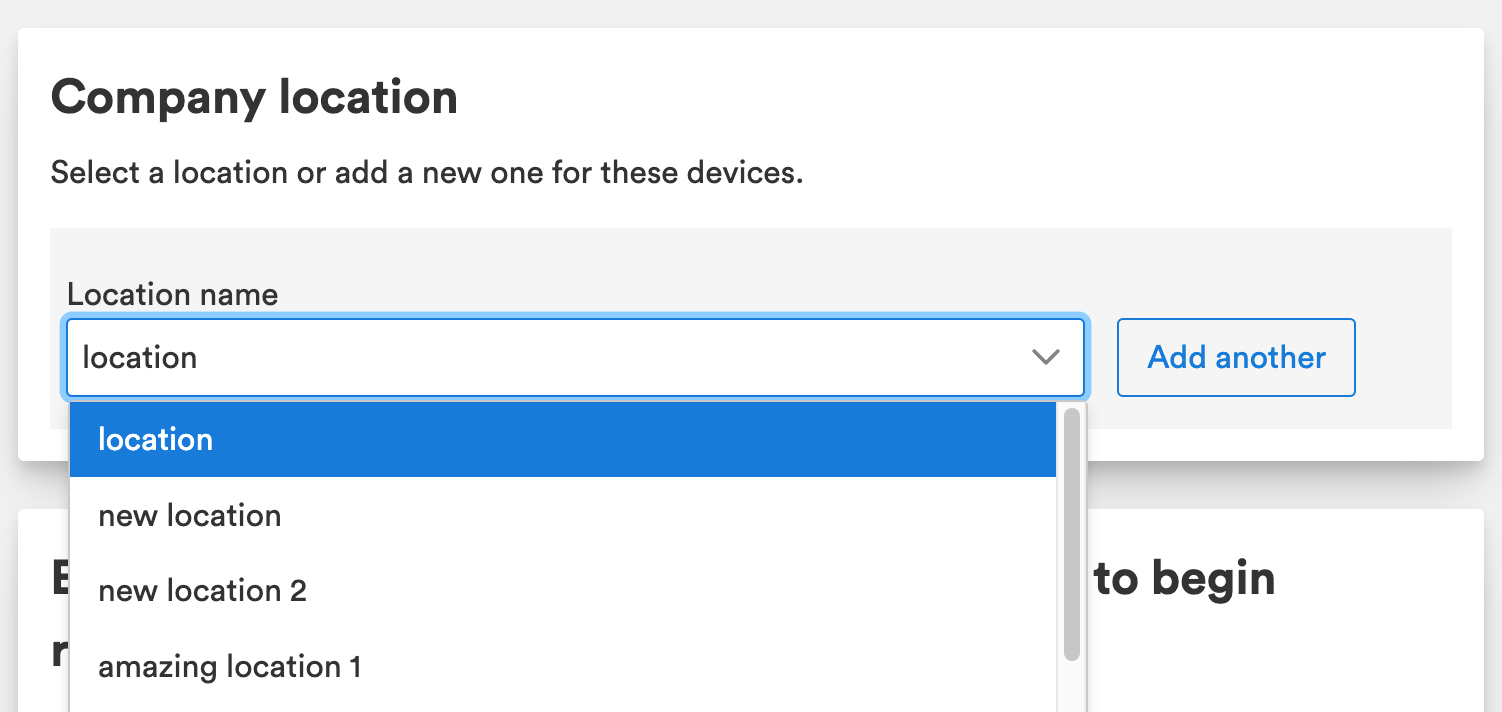
Note: You will be prompted to create a company location if you don’t have one set up already. Software connection is not required immediately and can be set up later.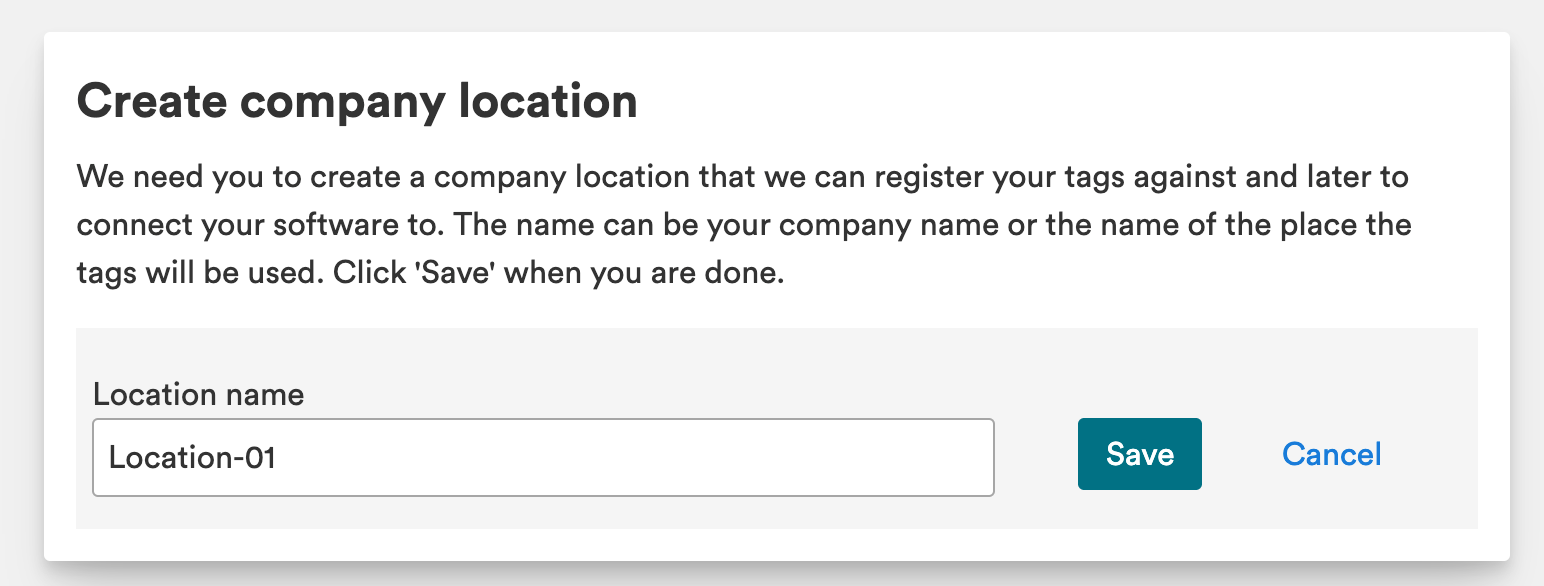
Step Four - Entering Box Barcode/s
Enter the barcode on the box manually or select ‘Scan QR code’ to use your camera. Select ‘Submit’
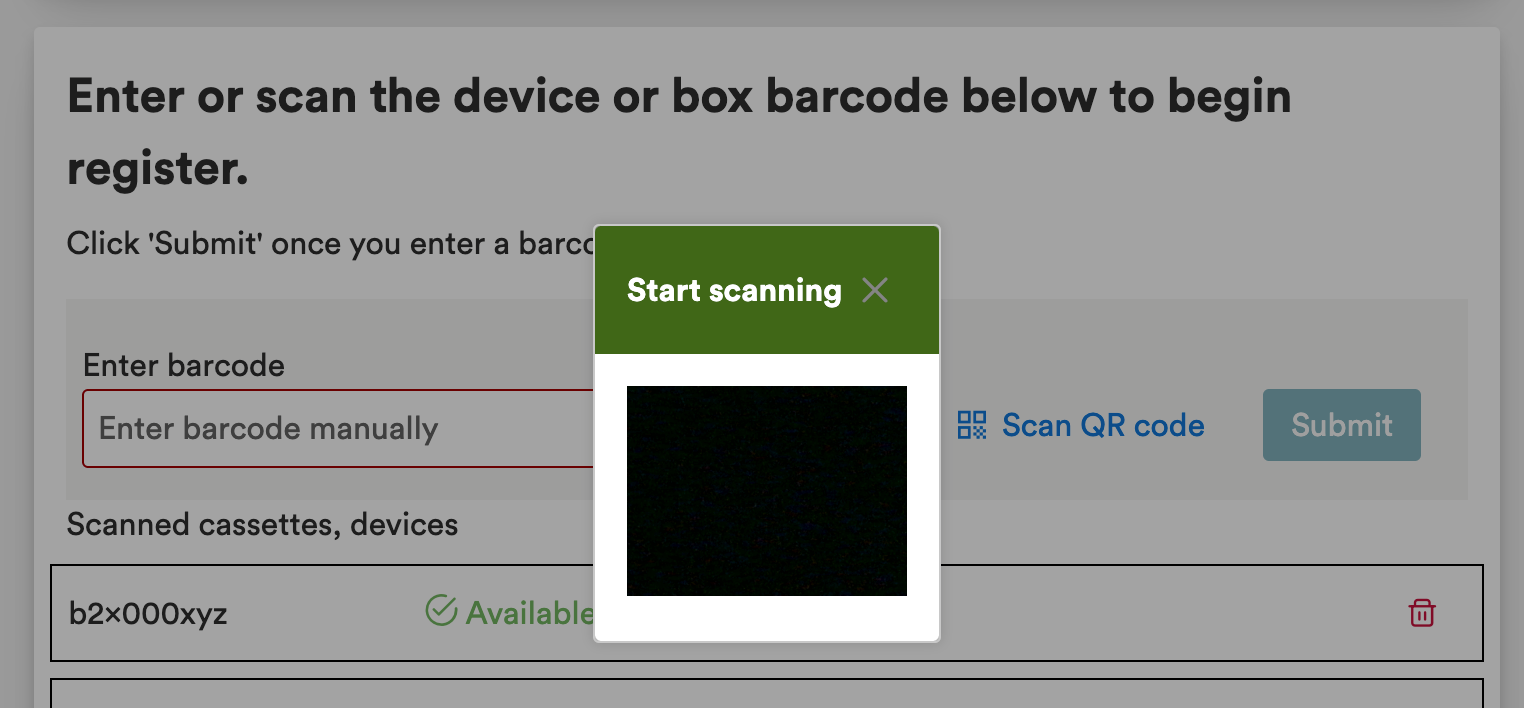
Step Five -Viewing Entered Barcode and Devices
Select the entered barcode to view available devices 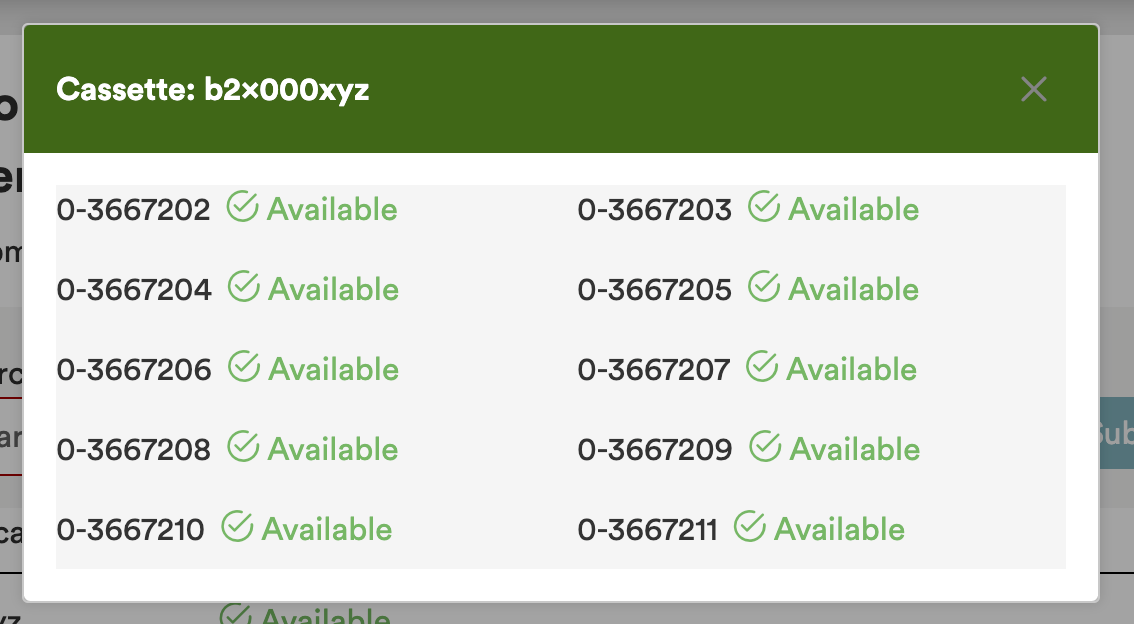
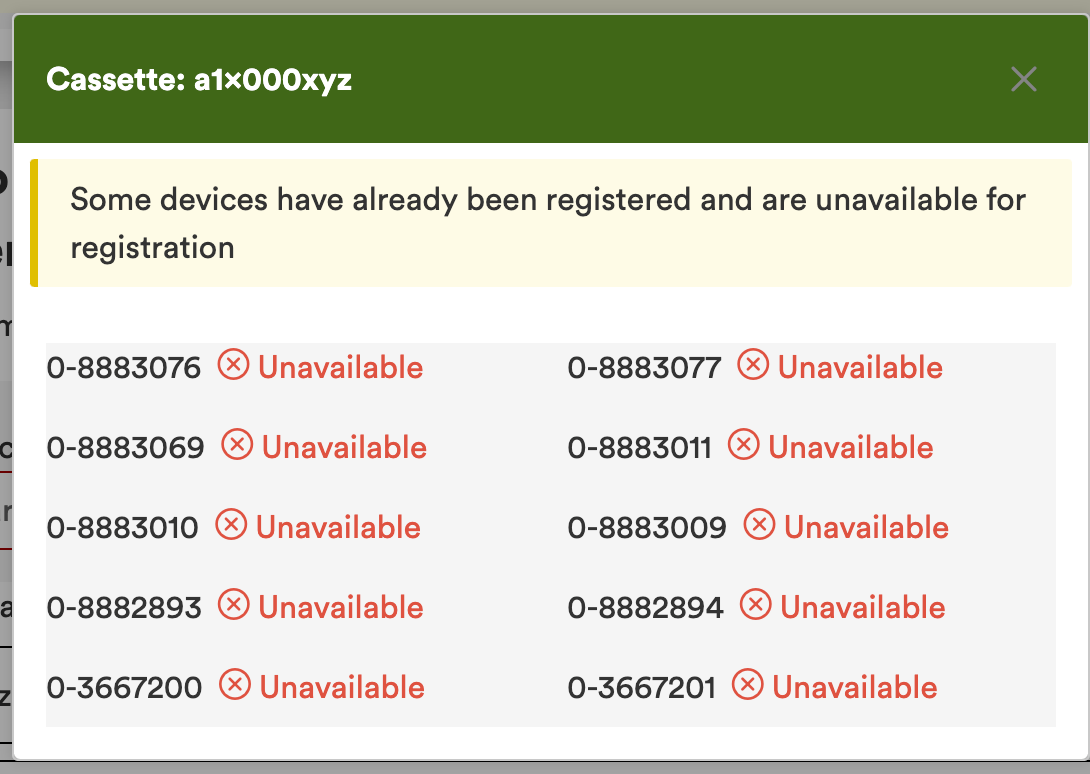
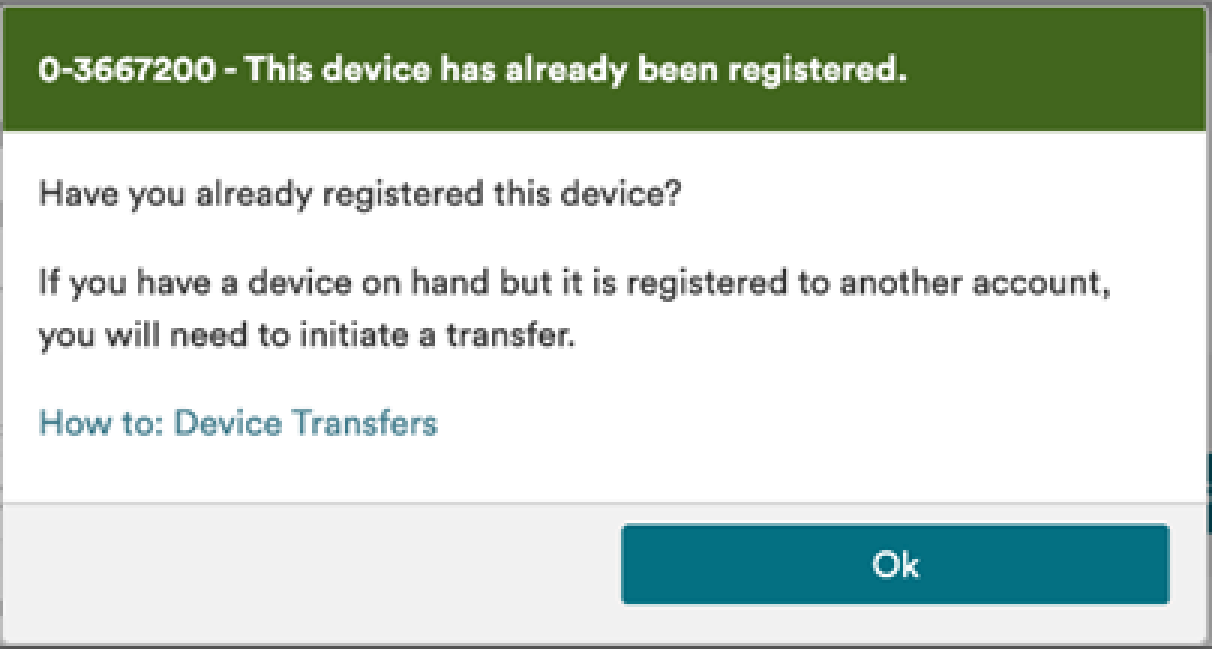
Note: You will be notified if some/all devices are unavailable
Step Six -Confirmation of Registration
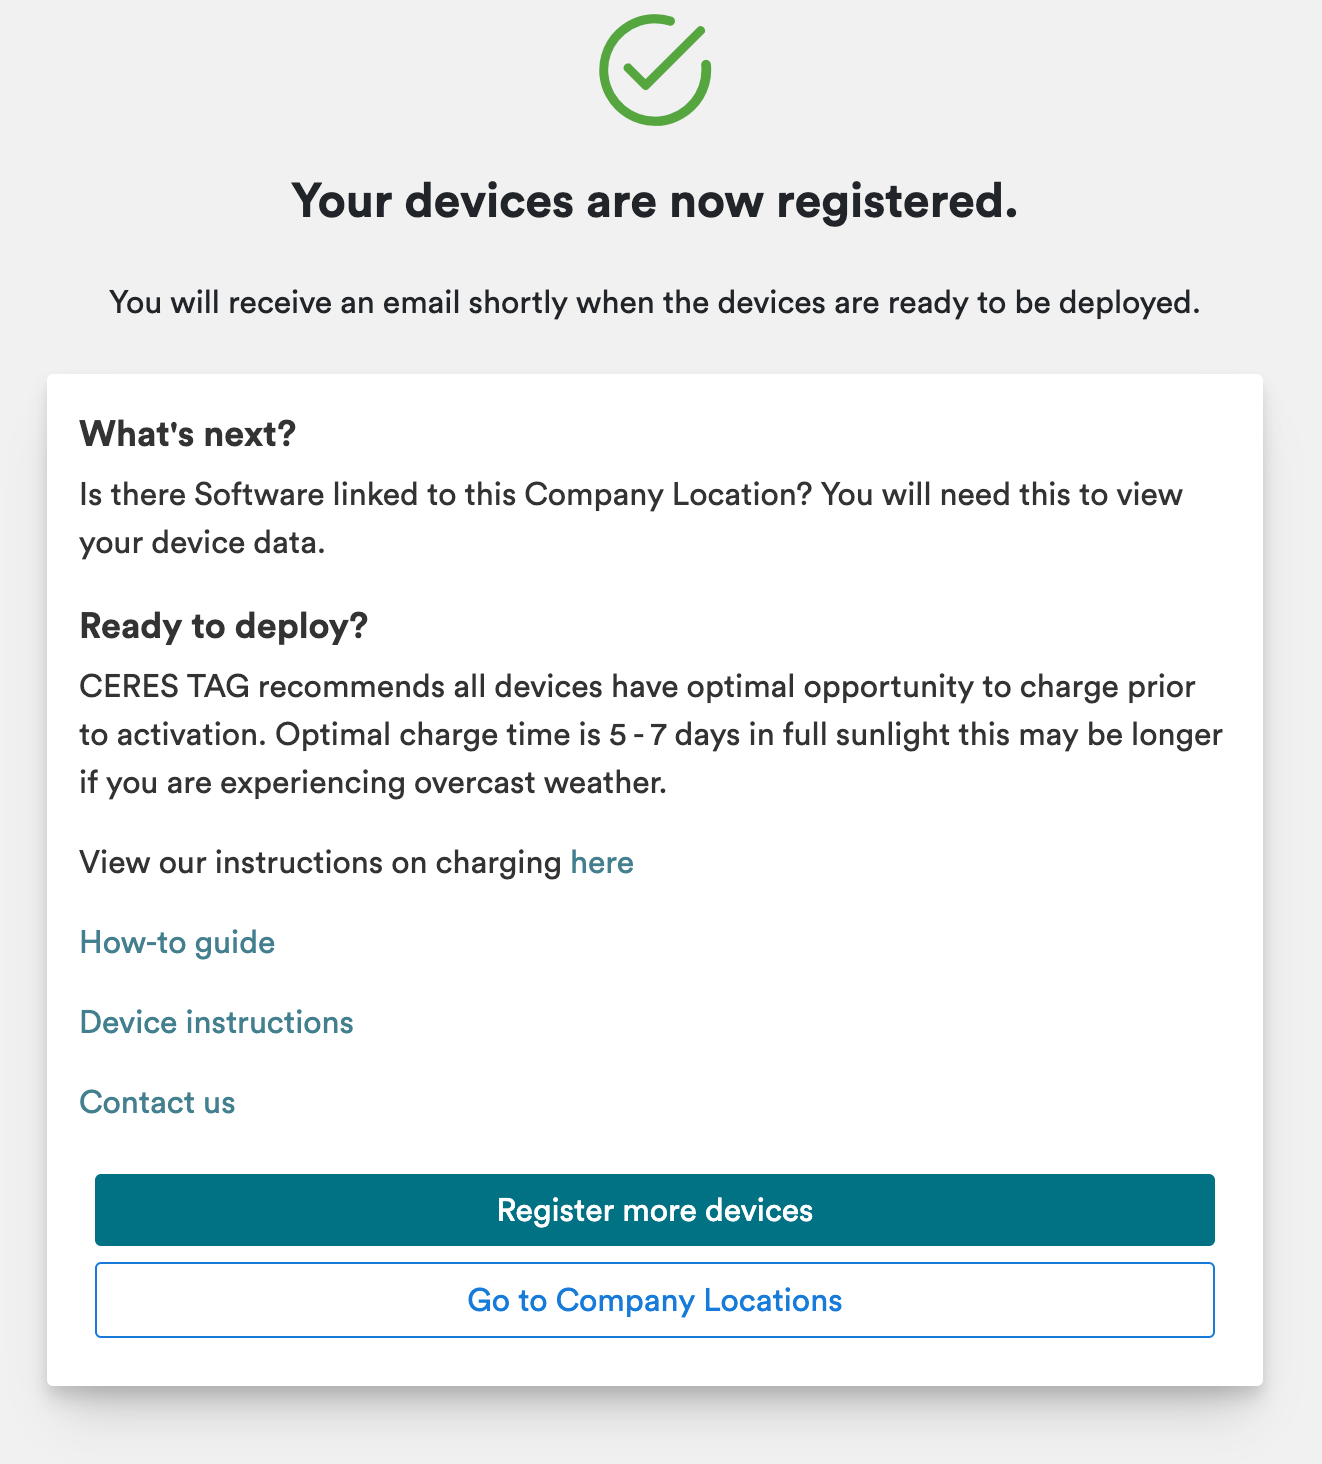
Select ‘Register’, this will bring you to a confirmation screen. You can view useful guides, contact support or go back to your company locations to view your new and/or existing devices.
If you have any problems or require assistance, or find this process does not follow the path above, please email info@cerestag.com.
Related Articles
CERES RANCHER Application Instructions Video
CERES RANCHER Application Instructions Video
Connecting your Software
Connecting your Software

